


Chocolate Hand Tempering on Marble
I did the three hour theory and practice of chocolate hand tempering on marble at the Sydney Chocolate School. Walking in to the classroom you really get the feel that this is an industrial kitchen, with products and orders on shelves, in fridges and for sale. But it’s also a bit like walking in to a home.
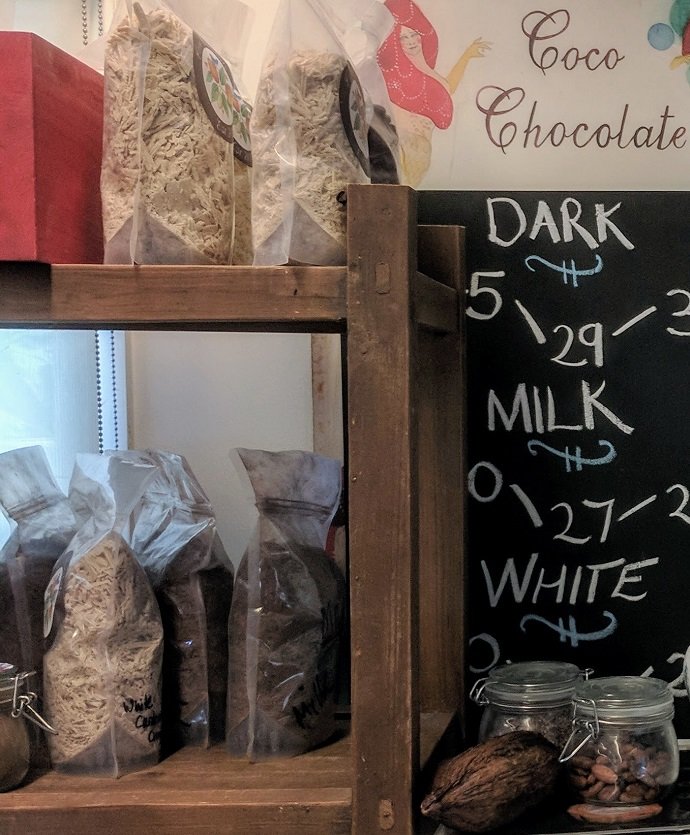
The bottom right corner of the above picture shows a cocoa pod next to a jar of cocoa beans. The blackboard indicates some temperatures for “tempering”. Walking in to the small industrial kitchen, you are left wondering what you will do with this, as a student of chocolate!
Couverture chocolate was used throughout this course, which is different to compound chocolate, which contains non-cocoa fats such as palm oil.
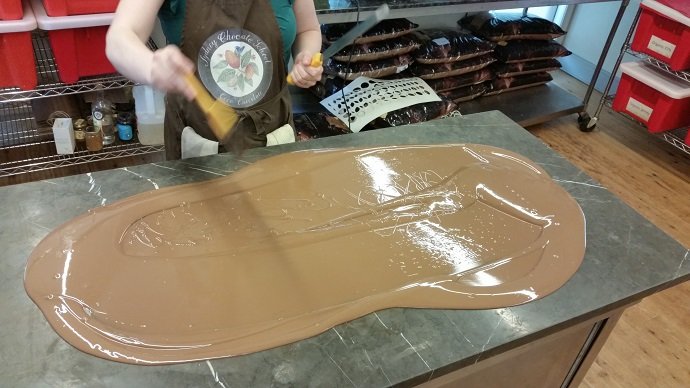
Well, the course certainly had plenty of melted chocolate being pouring on to marble.
But first, some chocolate theory! Without going in to too much detail here, the course covers the chocolate making process from bean to bar, including:
- Bean fermentation
- Roasting, which is when nibs are formed
- Pressing to separate cocoa butter and cocoa solids
- Conching
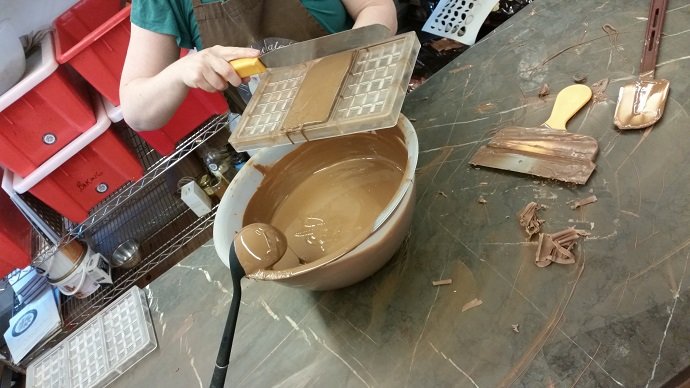
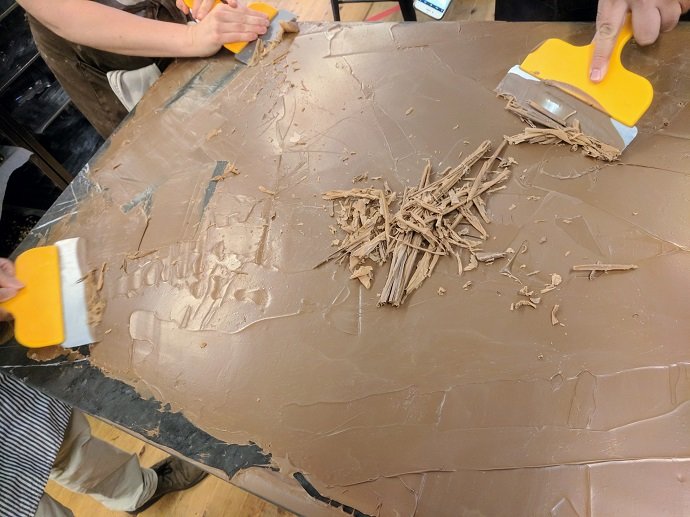
Chocolate pellets are the end product. These need to be tempered, to give the chocolate gloss and a crisp snap. Which brings us to the marble. It cools the chocolate. The basic idea is that you melt the chocolate pellets, cool the liquid by pouring it on marble, pour it back in to a bowl and re-heat, then pour in to the desired mould. That’s 3 distinct temperatures you aim for. They are different for milk, dark and white chocolate - shown on the blackboard in the first picture of this post. The microwave, an infra-red thermometer, and heat fan are all used to control temperature in class.
For comparison, if you pour the chocolate on to steel, you can only temper it once since the steel heats up and it won’t cool (temper) the chocolate. The marble tables at the school however can take something like 13 consecutive temperings, as the marble will stay cool for that many.
Now on to what we made.
We made a milk chocolate bar with rose oil to flavour it.
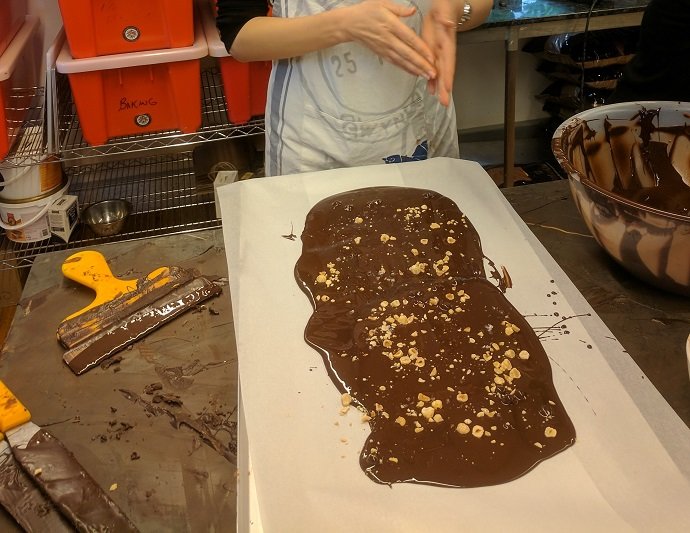
We made a dark chocolate slab sprinkled with hazelnuts and salt.
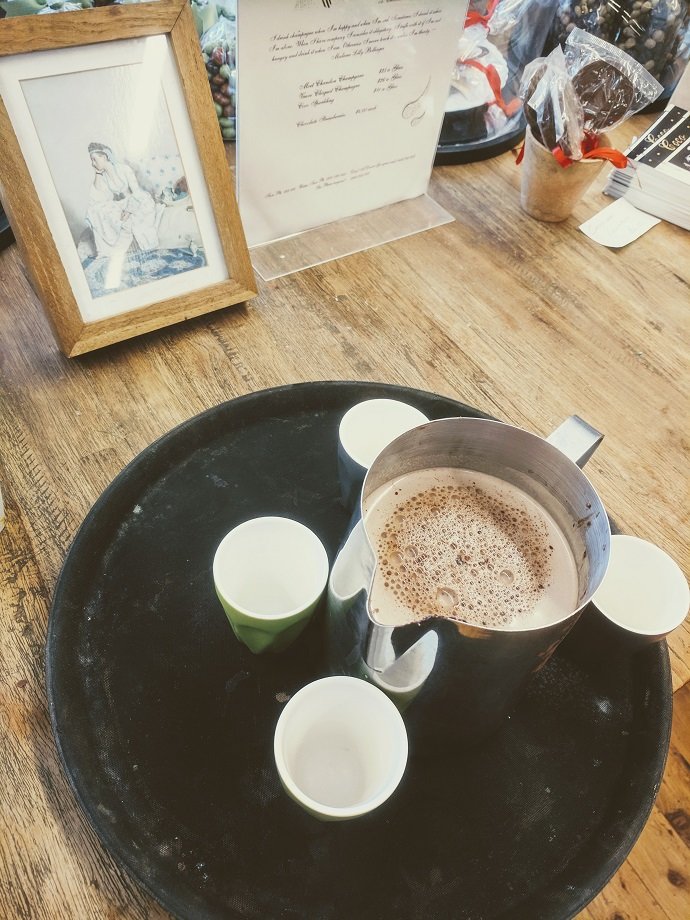
We made milk chocolate flakes which were then dissolved in milk to make hot chocolate.
There is so much more that was in this course, like the art of whipping the chocolate around the marble, and pouring it back in to the bowl in time. The instructor was a professional!
The sub-par student made chocolate is accepted for two purposes in all cases: as taste samples in their shop, and as a donation to the homeless which the owner has made in person in the past.